Setting Up Remote Control Switches in Indian Homes: A Simple Guide

Remote control switches are becoming increasingly popular in Indian homes. They offer a convenient way to control lights, fans, and other appliances without having to get up and manually operate a switch. But many people wonder: how easy is it to install and set up these switches in an existing home? Let's explore this topic in detail.
First, it's important to understand that installing remote control switches is not as difficult as you might think. With some basic knowledge and careful following of instructions, most homeowners can do it themselves. However, if you're not comfortable working with electrical systems, it's always best to call an electrician.
Before we dive into the installation process, let's talk about why you might want to install remote control switches in your home. These switches offer several benefits:
- Convenience: You can control lights and appliances from anywhere in the room.
- Energy savings: It's easier to turn off lights and devices when you're not using them.
- Accessibility: Great for elderly people or those with mobility issues.
- Safety: You can turn on lights before entering a dark room.
- Smart home integration: Many switches can be controlled via smartphone apps.
Now, let's go through the steps to install and set up remote control switches in your home:
Step 1: Choose the Right Switches
First, you need to decide what type of remote control switches you want. There are several options available in India:
- Simple infrared (IR) remote switches
- Wi-Fi enabled smart switches
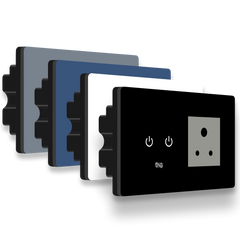
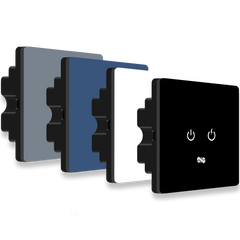
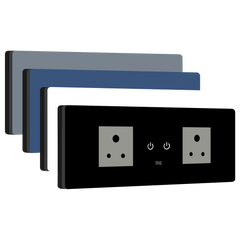
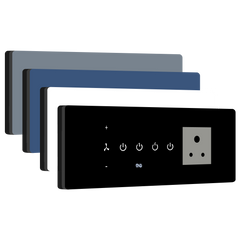
IR switches work when there is a direct line of sight. Wi-Fi switches are great if you want to control your lights with your smartphone. iotics smart switches offer both in one solution.
Step 2: Tools
You'll need a few basic tools:
- Screwdriver
- Wire cutter/stripper
- Voltage tester
- The new remote control switch
- The remote control or smartphone app (depending on the switch type)
Step 3: Turn Off the Power
This is very important! Before you start, turn off the power to the switch you're replacing at your home's main electrical board. Use a voltage tester to make sure there's no electricity flowing to the switch.
Step 4: Remove the Old Switch
Carefully remove the old switch from the wall. You'll see three wires:
- A black or red wire (the "live" wire)
- A white wire (the "neutral" wire)
- A green or bare copper wire (the "earth" wire)
Take a photo or make a note of how these wires are connected. You'll need to connect the new switch in the same way.
Step 5: Install the New Switch
Now, connect the wires from your new remote control switch to the wires in the wall. Make sure you match them correctly. Refer to the instructions that came with your switch.
Step 6: Mount the Switch
Once the wires are connected, carefully push the switch back into the wall box and screw it in place. Then, attach the switch cover.
Step 7: Turn the Power Back On
Go back to your electrical board and turn the power back on for that switch.
Step 8: Set Up the Remote Control switches
Depending on your switch type, you'll either need to pair the remote control with the switch or set up the smartphone app. Follow the instructions that came with your switch for this step.
For IR switches, this usually involves pressing a button on the switch and then pressing a button on the remote. For Wi-Fi switches, you'll need to download an app and follow the setup process.
Step 9: Test Everything
Make sure everything is working correctly. Try turning the light or appliance on and off using both the switch and the remote control.
Step 10: Repeat for Other Switches
If you're installing multiple remote control switches, repeat these steps for each one.
Some Extra Tips:
- Start with just one or two switches to get comfortable with the process.
- Keep the instruction manual handy - you might need it for troubleshooting.
- If your home has old wiring, consider having an electrician check it before installing new switches.
- Some remote control switches need a neutral wire. If your switch box doesn't have one, you might need to choose a different type of switch or have an electrician add a neutral wire.
Remember, while installing remote control switches isn't too difficult, it does involve working with electricity. If you're not confident in your ability to do this safely, it's always better to call a professional electrician. Your safety is more important than saving a little money!
In conclusion, installing remote control switches in your Indian home is a manageable task that can greatly improve your daily life. With careful planning and execution, you can enjoy the convenience and energy-saving benefits of these modern switches. So why not give it a try? Your smarter, more comfortable home is just a few steps away!